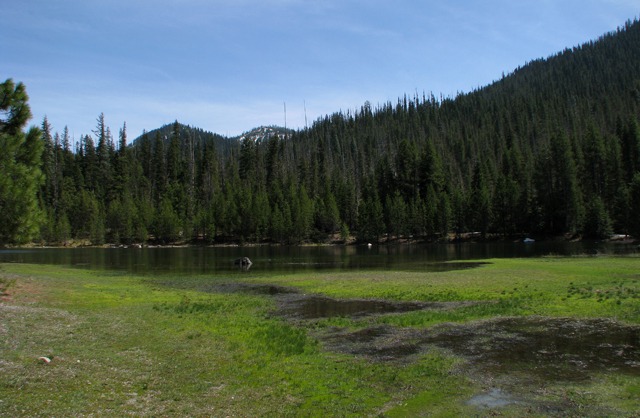
The Last Stretch: On this last leg, we left the Lochsa River and went on US HWY 2 to Lolo Pass. As we were driving along, we wanted a spot to stop for a lunch break. Louise found a forest road on one of the maps that led to Eagle's Nest, a road that looked interesting. It was a lovely spot we shared with Canada geese and mallards.

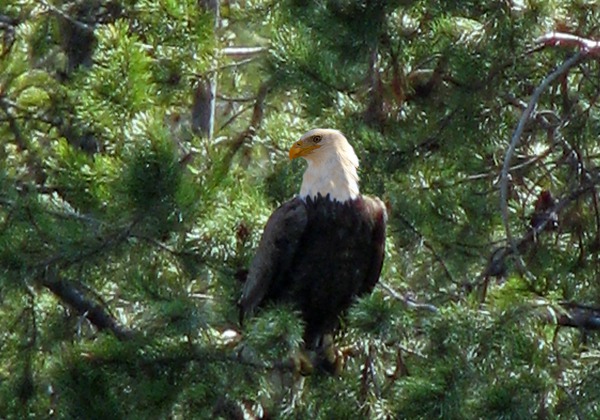
 As we set out some lunch and a few treats for Furry Purry (who was enjoying the cooler weather at higher elevations) a large dark shadow crossed the water. The ducks and geese didn't react, but it was a large bald eagle, apparently more intent on fish than fowl.
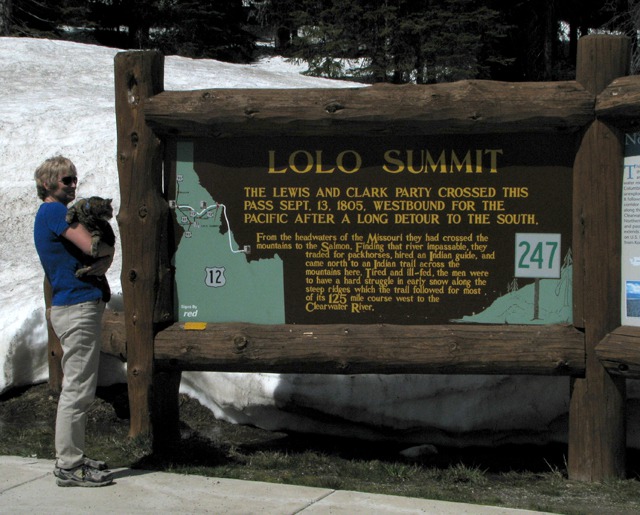
 Lolo Pass: After lunch we drove back to the highway and up to Lolo Pass. It was still a snow fest up on top. Lewis and Clark tried to navigate their way over this pass, and would certainly have perished if not for Nez Perce, who some seventy years later lived to mightily regret the decision as they were chased from their homeland in Washington State toward Canada through a series of massacres until the final battle in the Bear Paw Mountains near the Montana/Canadian border.

Mountain Lake Down a Gravel Road Near Lolo Pass

Mountain Lake Closer

Canada Geese and Mallard Ducks on the Lake

A Bald Eagle Watches the Lake from a Tree
Lewis and Clark: Lewis and Clark followed a well-established Indian trail across the Bitterroot Mountains that was used by Western Indians to reach the eastern plains buffalo hunting grounds for centuries before Lewis and Clark arrived. The expedition found the trail through the cold, high ground difficult, rocky and steep and, as Indians had tried to warn them, devoid of game.
Patrick Gass, a member of the party, noted on September 14, 1805, only three days journey from the valley, that the men had to resort to the soup already, and it was not popular: "without a miracle it was impossible to feed 30 hungry men and upwards, besides some Indians. So Capt. Lewis gave out some portable soup, which he had along, to be used in cases of necessity. Some of the men did not relish this soup, and agreed to kill a colt; which they immediately did, and set about roasting it; and which appeared to me to be good eating."
Lewis went further:
"here we were compelled to kill a Colt for our men and Selves to eat for the want of meat and we named the South fork Colt Killed Creek, the Flathead name is Koos Kooske. our men and horses much fatigued." Over the next few days, they would go through soup, parched corn, twenty pounds of tallow candles, several horses, berries, fish, roots and more.
We finally arrived at Lolo Pass after our far better lunch -- a pass that would have been impassable even this late in May to people on horseback.
 So over the top we went and down into the Bitterroot Valley -- our goal was to wind our way over to the Big Hole Valley and then back to Bozeman to complete the loop. We had set a might goal -- hundreds of additional miles ahead and it was already mid-afternoon, but we had a reasonable amount of daylight ahead so on we forged. We didn't really have time to stop and take a lot of photos so we got a few "drive bys" of some of the spectacular peaks that edge the Bitterroot Valley -- once mostly agricultural until it was discovered by out-of-staters who have now adorned it one end to the other with 10,000 square foot homes where they summer for a month or two each year.
 Big Hole Battlefield: We drove over US HWY 93 over Lost Trail pass to MT HWY 43 which dropped down into the Big Hole Valley -- and the site of a famous battle between Chief Joseph's band of Nez Perce and Colonel Gibbon. Gibbon reached the Nez Perce camp on August 9-10, 1877, and in the early dawn he attacked.

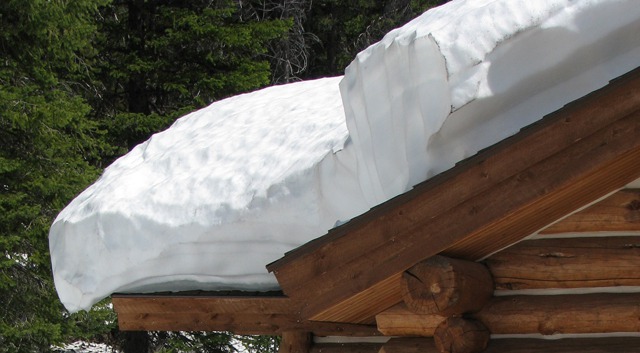
Lolo Summit Sigh backed by 10 Feet of Snow

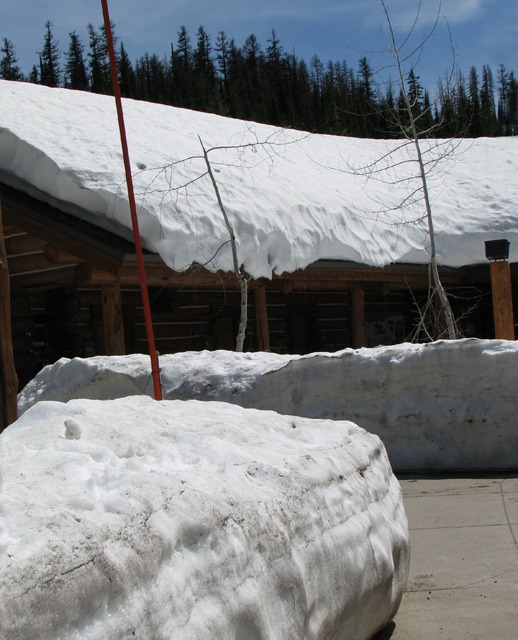
Snow at Visitor's Center

Snow Remaining on the Eaves

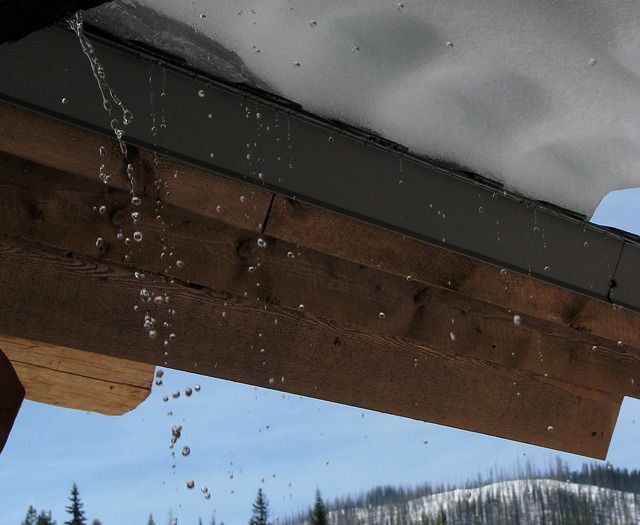
Evidence of a Spring Thaw

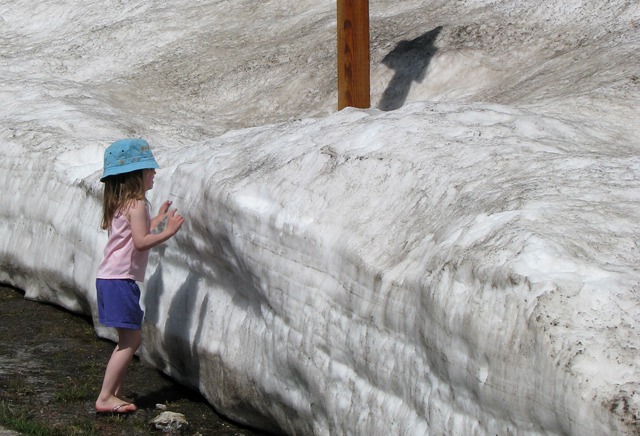
Munchkin Embraces A Snow Bank

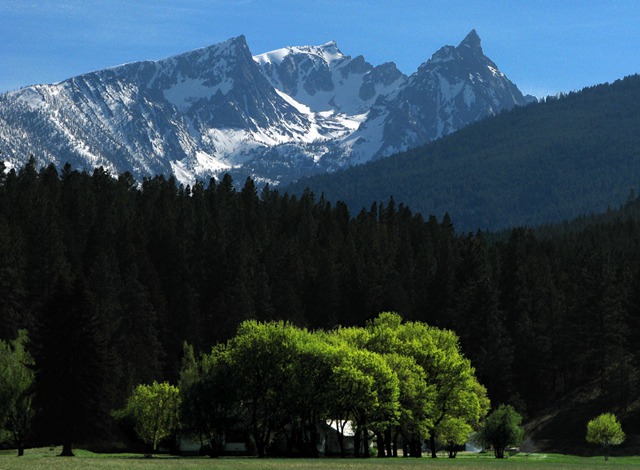
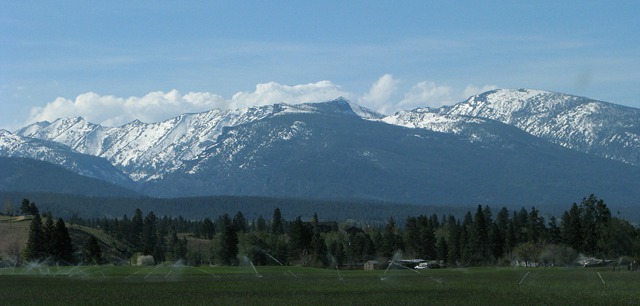
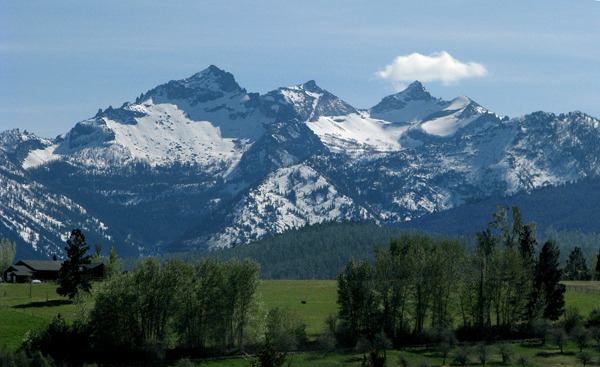
Trapper Peak from Bitterroot Valley

Peaks on West Side of Bitteroot Valley Near Hamilton

More Peaks of the Bitterroot
Battle of the Little Big Hole: The war chiefs, Looking Glass, Toohulhulzote, and Ollicot, believed that they were far enough away from the group commanded by General Howard that had been hounding them for 800 miles to be out of harm's way. They had not bothered to post sentries around their camp.  Gibbon's attack took the Nez Perce completely by surprise and threw the camp into complete confusion.
Caught in their tipis, the women and children suffered greatly; ninety were killed. The Nez Perce were routed and lost their camp in just twenty minutes.
Gibbon attempted to pursue the warriors across the river, but Looking Glass and Joseph regrouped the warriors and in hand-to-hand fighting managed to fight Gibbon to a standstill. Nez Perce sharpshooters inflicted heavy losses on the soldiers, and Gibbon withdrew from his position and was pinned down in a wooded area near the camp. Only the presence of fickle winds prevented the Nez Perce from burning Gibbon's command alive in the wood. The Nez Perce kept the Army pinned down long enough to take what little they could salvage and continue their journey.
Gibbon's attack took the Nez Perce completely by surprise and threw the camp into complete confusion.
Caught in their tipis, the women and children suffered greatly; ninety were killed. The Nez Perce were routed and lost their camp in just twenty minutes.
Gibbon attempted to pursue the warriors across the river, but Looking Glass and Joseph regrouped the warriors and in hand-to-hand fighting managed to fight Gibbon to a standstill. Nez Perce sharpshooters inflicted heavy losses on the soldiers, and Gibbon withdrew from his position and was pinned down in a wooded area near the camp. Only the presence of fickle winds prevented the Nez Perce from burning Gibbon's command alive in the wood. The Nez Perce kept the Army pinned down long enough to take what little they could salvage and continue their journey.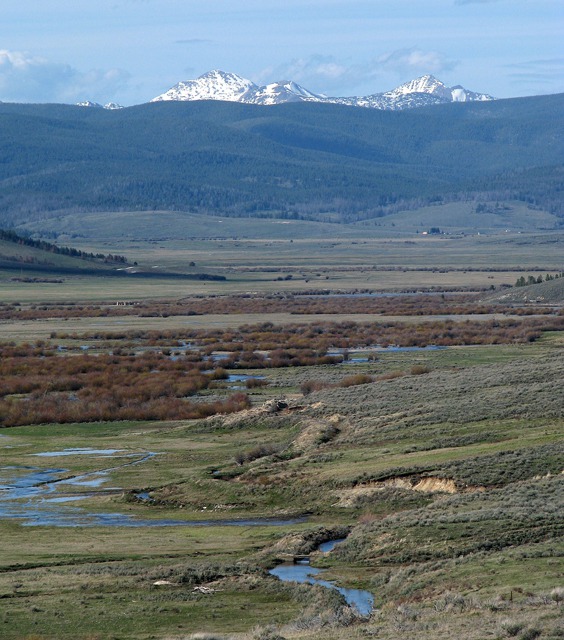

 We had a wonderful supper in Wisdom, and Leesha met a nice family from Pennsylvania whose children wanted to pet her. They missed their kitty back home!

Site Of Chief Joseph's Camp at Bighole Battlefield

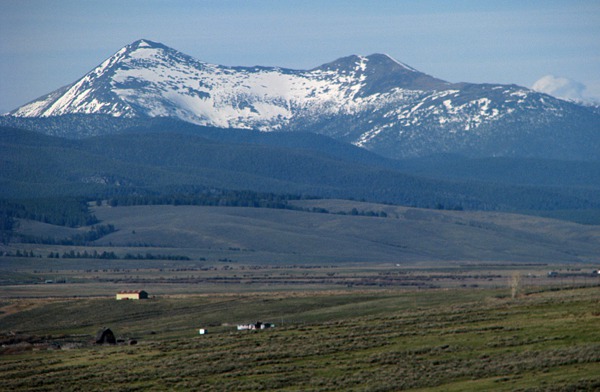
Big Hole Valley

Big Hole River at Dusk

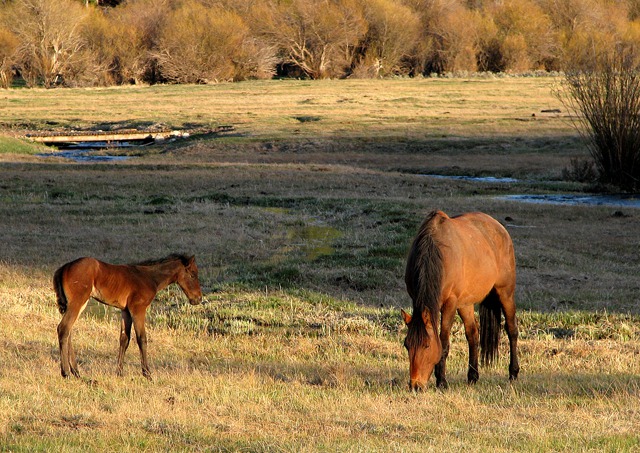
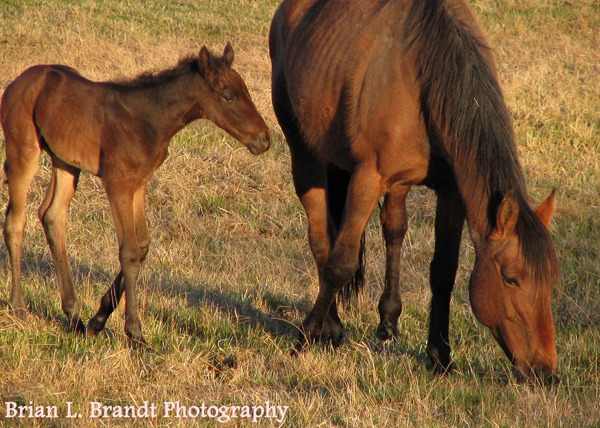
Big Hole Mother and Foal

Big Hole Mare and Foal Closer

Peaks above the Bighole Valley

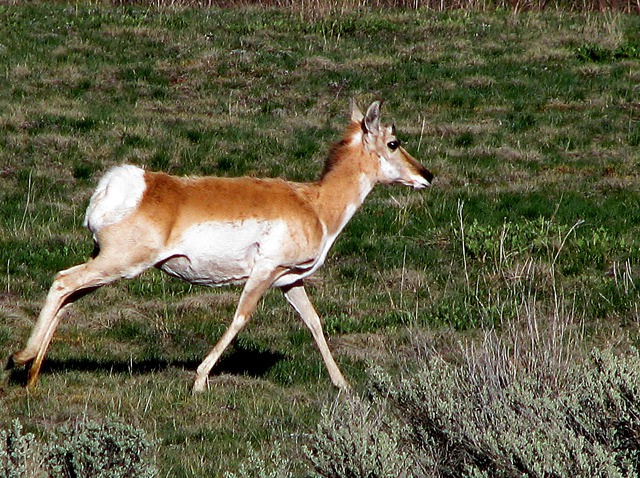
Big Hole Antelope
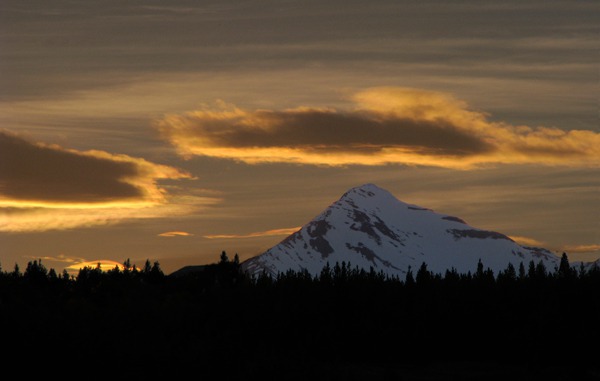
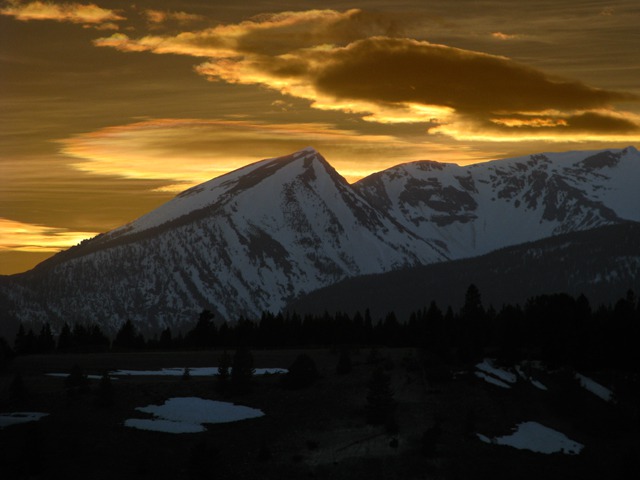
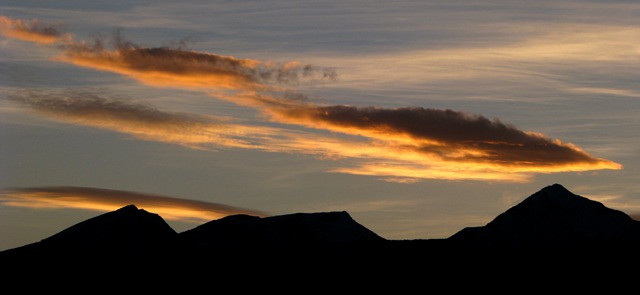
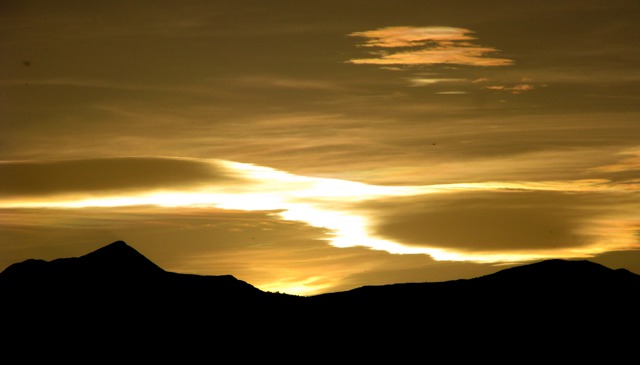
Mt Haggin Wildlife Management Area: We left the Big Hole Valley and turned north on MT HWY 569 to the Mt Haggin Wildlife Management Area on the way to Anaconda. I hadn't been on the road for years, and Louise had never been there, and those were reasons enough to go. We got there just before sundown -- and realized that the time to go through there from this direction was in the morning, if you have a choice, because the sun was going down behind the most spectacular peaks along the west side of the narrow valley.
 The sun put on a sundown display for us.
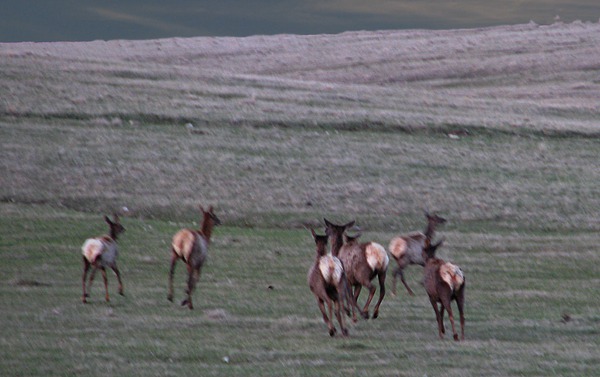
 As we drove along, a herd of elk nervously scattered toward a far ridge.
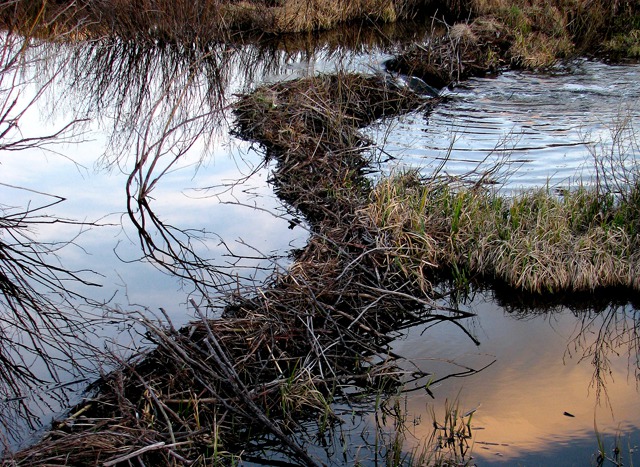
 We came around a curve to see a very large beaver dam alongside the road -- well maintained in a thicket of willow.
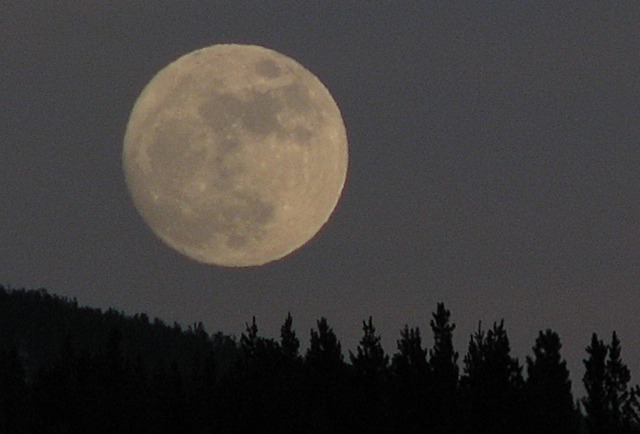
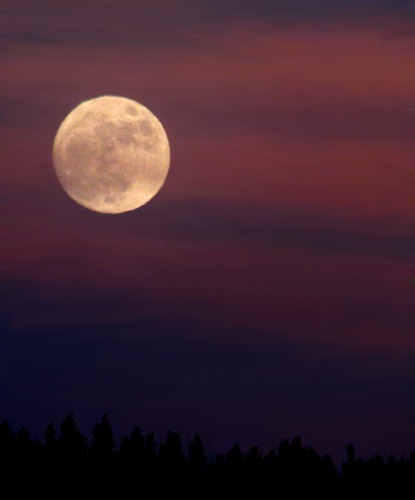
 Finally we ran plumb out of daylight as a huge full moon crested the eastern ridge.
 So picture taking was done for the day and we drove to the outskirts of Anaconda and back to Bozeman on I-90. Whew -- now THAT was a loop.
Text by Brian and Louise, photos by Brian. Copyright Goinmobyle LLC 2011
So picture taking was done for the day and we drove to the outskirts of Anaconda and back to Bozeman on I-90. Whew -- now THAT was a loop.
Text by Brian and Louise, photos by Brian. Copyright Goinmobyle LLC 2011

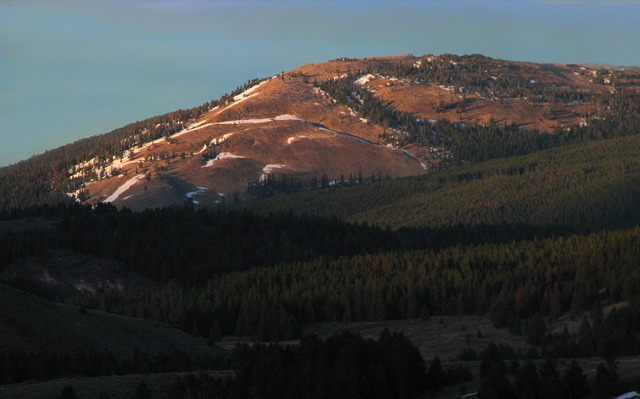
Alpine Glow Near Mt. Haggan

Lone Peak Sunset

Peak and Ridge at Sundown

Elk Head for the Ridge

Last Glow 1

Last Glow Again


Mount Haggin Moonrise

Moon in the Afterglow